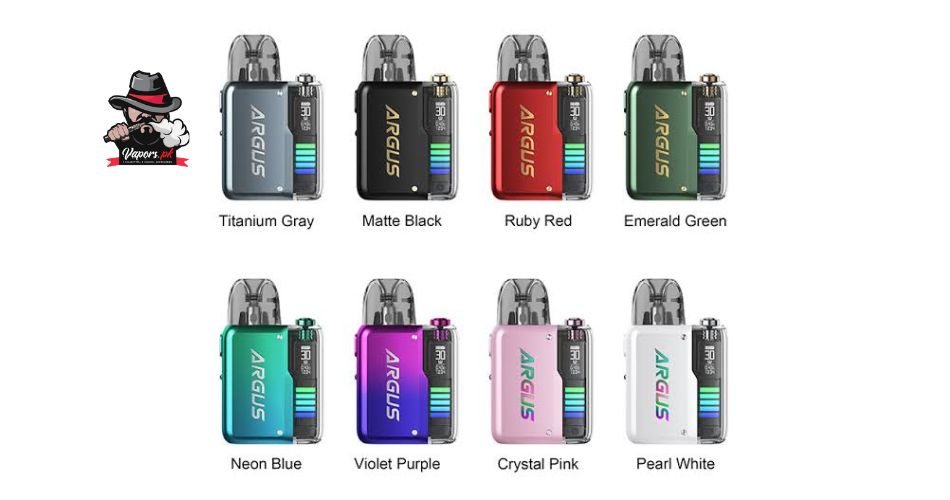
The OXVA Xlim Pro Pod Kit is an innovative and user-friendly device that allows vapers to enjoy their favorite e-liquids in a convenient and portable manner. This comprehensive guide will walk you through the step-by-step process of using and operating the OXVA Xlim Pro Pod Kit, ensuring you have a seamless vaping experience.
Unboxing the OXVA Xlim Pro Pod Kit:
Upon receiving your OXVA Xlim Pro Pod Kit, carefully unbox it and ensure that all the required components are present. These usually include the Xlim Pro device, a pod cartridge, a USB charging cable, a user manual, and a warranty card.
Understanding the Components of the OXVA Xlim Pro Pod Kit:
Familiarize yourself with the main components of the OXVA Xlim Pro Pod Kit, including the device itself, the pod cartridge, the airflow control ring, the fire button, and the charging port. Understanding these components will make it easier to operate the device effectively.
Charging the OXVA Xlim Pro Pod Kit:
Connect the USB charging cable to the OXVA Xlim Pro Pod Kit and plug it into a power source. The device features a Type-C charging port, allowing for quick and efficient charging. Wait until the device’s battery indicator indicates that it is fully charged.
Installing and Filling the Pod Cartridge:
Remove the empty pod cartridge from the device and detach the drip tip if necessary. Fill the pod cartridge with your desired e-liquid by lifting the silicon plug and inserting the nozzle of the e-liquid bottle into the fill port. Once filled, firmly replace the silicon plug.
Adjusting the Airflow Settings:
The OXVA Xlim Pro Pod Kit allows for adjustable airflow to cater to individual preferences. Rotate the airflow control ring located on the base of the pod cartridge to open or close the airflow vents. Experiment with different airflow settings to find your desired vaping experience.
Powering On and Off the OXVA Xlim Pro Pod Kit:
To power on the device, rapidly press the fire button five times. The device will display the current battery level and activate. To power off the device, repeat the same process. This feature is particularly useful when you need to conserve battery life.
Adjusting Wattage Settings:
The OXVA Xlim Pro Pod Kit offers adjustable wattage settings to customize your vaping experience. Press the fire button three times to enter the wattage adjustment mode. Use the fire button to cycle through the different wattage options. Select your preferred wattage and wait for the device to apply the settings.
Using the Fire Button and Draw Activation:
The OXVA Xlim Pro Pod Kit allows vapers to choose between using the fire button or draw activation for convenience. For fire button activation, simply press and hold the fire button while inhaling. For draw activation, inhale from the mouthpiece, and the device will automatically activate.
Changing the Coil in the Pod Cartridge:
Over time, the coil in the pod cartridge may need to be replaced. To do so, separate the pod cartridge from the device and locate the coil. Gently unscrew the old coil and dispose of it. Screw in a new coil and ensure it is securely tightened. Re-attach the pod cartridge to the device.
Cleaning and Maintaining the OXVA Xlim Pro Pod Kit:
Regular cleaning and maintenance of the device are essential for optimal performance. Use a clean, soft cloth to wipe the device’s exterior, ensuring it is free from dust and e-liquid residue. You can also rinse the pod cartridge with clean water and let it dry before reattaching it to the device.
Troubleshooting Common Issues:
In the event of any issues with the OXVA Xlim Pro Pod Kit, refer to the user manual for troubleshooting tips. This will guide possible solutions to common problems such as poor vapor production, leaking, or malfunctioning buttons.
Maximizing Battery Life:
To ensure longer battery life for your OXVA Xlim Pro Pod Kit, consider implementing the following practices:
- Adjust the wattage settings to a lower level when possible, as higher wattage consumes more battery power.
- Avoid leaving the device in direct sunlight or extreme temperatures, as this can degrade the battery.
- Charge the device fully before first use, and avoid overcharging it.
- If you plan on not using the device for an extended period, store it in a cool and dry place with the battery level around 50%.
Exploring Additional Features and Modes:
The OXVA Xlim Pro Pod Kit offers various additional features and modes that can enhance your vaping experience:
- Smart Mode: This mode automatically detects the coil resistance and suggests the optimal wattage range for optimal flavor and vapor production.
- Power Mode: Switch to Power Mode to manually adjust the wattage settings according to your preferences.
- Puff Counter: Monitor your vaping habits by utilizing the puff counter feature, which tracks the number of puffs you take.
- Memory Mode: Customize your vaping experience by saving your preferred wattage settings in the device’s memory for quick access.
Conclusion:
By following this comprehensive guide, you should now have a thorough understanding of how to use and operate the OXVA Xlim Pro Pod Kit. Remember to always refer to the user manual for specific instructions and safety precautions before using the device. Enjoy your vaping experience with the OXVA Xlim Pro Pod Kit!


